February 9, 2026
Gypsum board walls have become one of the most popular solutions in modern construction and interior fit-outs. They are lightweight, cost-effective, quick to install, and offer excellent flexibility for residential, commercial, and office spaces. Whether you’re planning a new partition wall or upgrading your interiors, understanding the gypsum board wall installation process helps ensure a durable and high-quality result.
In this guide, we walk you through the step-by-step process of gypsum board wall installation, from preparation to final finishing.
A gypsum board wall (also known as drywall or plasterboard) is a wall system made of gypsum panels fixed onto a metal or wooden framework. It is widely used for:
Its versatility and clean finish make it a preferred choice in modern construction.
Before starting the installation, make sure the following materials and tools are ready:
Proper preparation ensures faster installation and a smoother finish.
The first step in gypsum board wall installation is preparing the site:
Precision at this stage prevents alignment issues later.
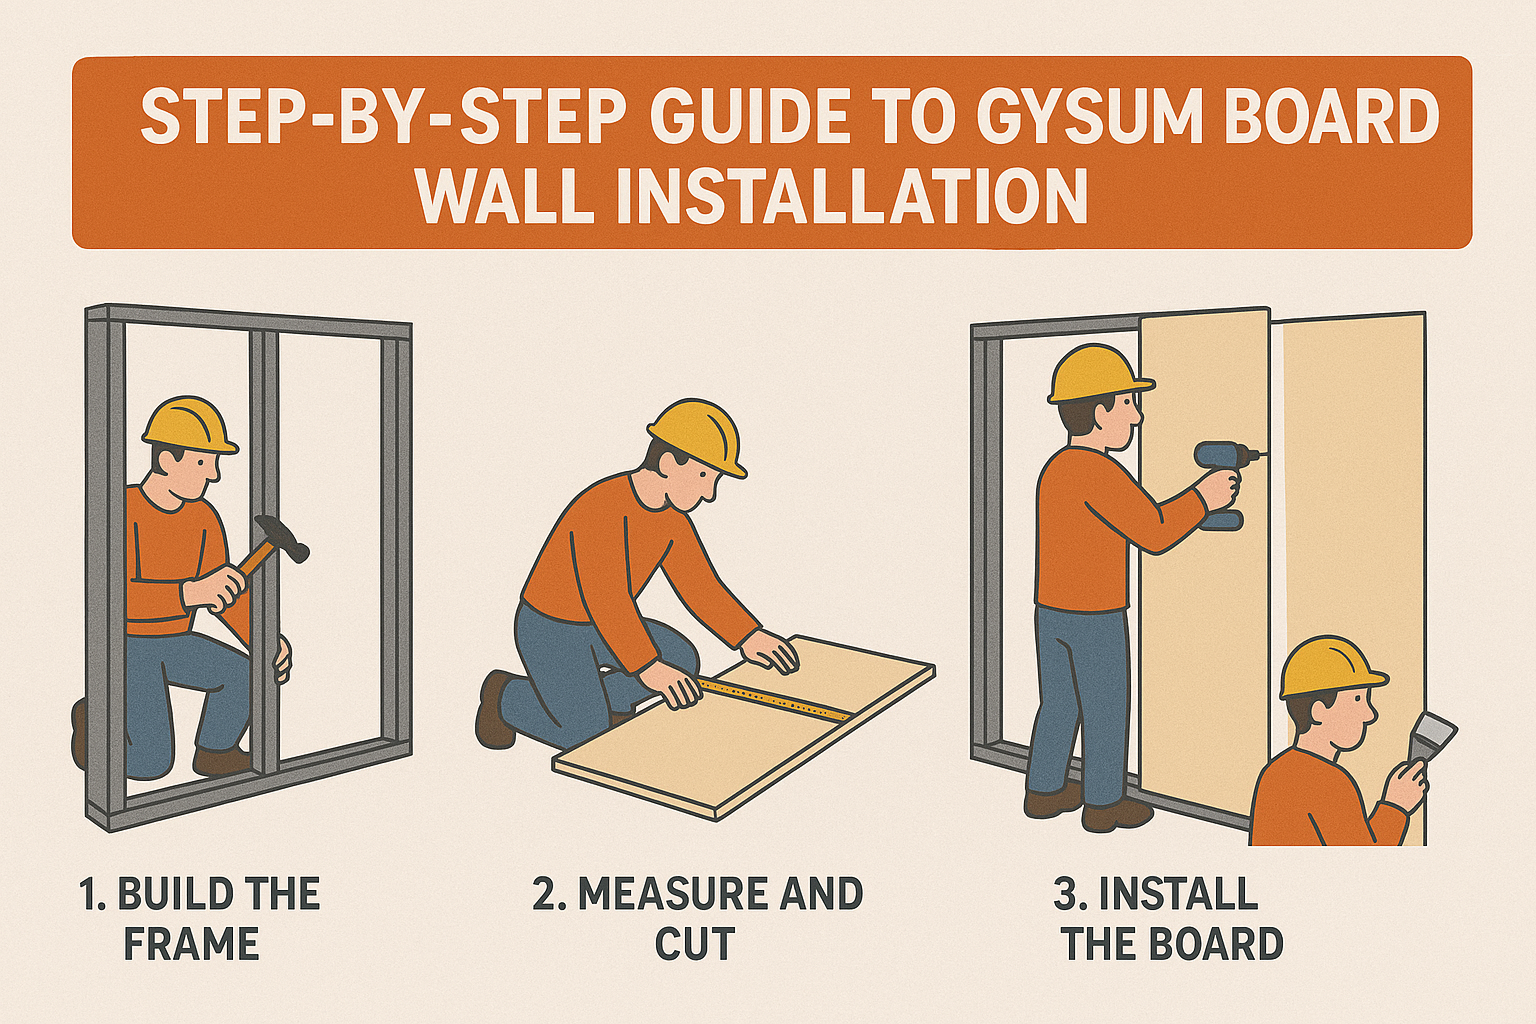
The metal framework acts as the backbone of the gypsum wall.
A strong and straight framework is essential for wall durability.
Before fixing the gypsum boards:
This step is crucial for offices, clinics, and residential spaces that require privacy and comfort.
Now comes the main installation step:
Always start from one side and work systematically for best results.
To achieve a smooth, paint-ready surface:
This step determines the final appearance of the wall.
Before painting or cladding:
Once completed, the wall is ready for paint, wallpaper, tiles, or decorative finishes.
While gypsum board installation may seem straightforward, professional execution ensures:
At 151, we provide professional gypsum board wall installation services tailored to residential, commercial, and industrial projects. Our experienced team ensures:
Whether it’s an office partition, villa interior, or commercial space, 151 delivers reliable and durable gypsum wall systems designed to last.
Gypsum board walls are a smart solution for modern interiors, offering flexibility, speed, and a clean finish. By following the correct installation steps and working with experienced professionals, you can achieve walls that are both functional and visually appealing.
If you’re planning a gypsum board wall installation project, 151 is ready to support you from planning to final delivery.

